A sitelinks search box allows users to search directly within your website from the Google search results page. Adding this schema markup can:
- Improve search visibility and user experience
- Enable users to refine searches on your site
- Boost engagement and website traffic
Key Requirements
- Verify website ownership through Google Search Console or Analytics
- Understand structured data and schema markup concepts
- Create a valid
SearchActionmarkup for your site's search functionality
Implementation Steps
- Create the
SearchActionMarkup- Add JSON-LD markup to your homepage's
<head>section - Include properties like search URL, query parameter, and result page
- Add JSON-LD markup to your homepage's
- Add
rel="canonical"Tag- Helps Google identify which pages should include the search box
- Test and Validate Markup
- Use Google's Rich Results Test tool to check for errors
- Submit Markup to Google
- Log in to Google Search Console and submit your markup
- Optimize and Monitor Performance
- Ensure a functional on-site search experience
- Analyze search traffic using the Performance Report
By following these steps, you can enhance your website's visibility and provide a better search experience for users.
Quick Comparison
Not applicable for this article type.
Getting Ready
Before adding Sitelinks Search Box schema markup to your website, let's cover the basic requirements and concepts you need to understand.
Verifying Website Ownership
To add Sitelinks Search Box schema markup, you need to prove you own the website. This step is crucial to ensure you have the authority to add schema markup. You can verify your website ownership through:
- Google Search Console
- Google Analytics
Understanding Structured Data
Structured data is a way to provide search engines with additional context about your website's content. It helps search engines understand the structure and content of your website, which can improve your website's visibility in search results.
Brief Overview of Sitelinks Search Box Markup
The Sitelinks Search Box markup is a type of structured data that enables the search box feature in Google search results. It consists of a set of properties and values that describe your website's search functionality, including:
| Property | Description |
|---|---|
| Search URL | The URL of your website's search page |
| Search Query Parameter | The parameter used to pass the search query |
| Search Result Page | The page that displays the search results |
By understanding these basic concepts and requirements, you'll be better prepared to add Sitelinks Search Box schema markup to your website and improve your website's visibility in search results.
In the next section, we'll cover the steps to add Sitelinks Search Box schema markup to your website.
Adding the Sitelinks Search Box
Now that you understand the basic requirements and concepts, let's add the Sitelinks Search Box schema markup to your website.
Step 1: Create the SearchAction Markup
To add the Sitelinks Search Box markup, you need to create a SearchAction markup on your website's homepage. This markup describes your website's search functionality.
Here's an example of the SearchAction markup in JSON-LD format:
<script type="application/ld+json">
  {
    "@context": "https://schema.org",
    "@type": "WebSite",
    "url": "https://example.com/",
    "potentialAction": {
      "@type": "SearchAction",
      "target": "https://example.com/search/?q={search_term_string}",
      "query-input": "required name=search_term_string"
    }
  }
</script>
Replace https://example.com/ with your website's URL and https://example.com/search/?q={search_term_string} with your website's search results page URL.
Step 2: Add the rel="canonical" Tag
In addition to the SearchAction markup, you need to add a rel="canonical" tag to your homepage. This tag helps Google understand which results should include the search box.
Here's an example of the rel="canonical" tag:
<link rel="canonical" href="https://example.com/">
Replace https://example.com/ with your website's URL.
By following these steps, you'll be able to add Sitelinks Search Box schema markup to your website and improve your website's visibility in search results. In the next section, we'll cover how to add markup to your website.
Adding Markup to Your Website
Now that you've created the SearchAction markup and added the rel="canonical" tag, it's time to integrate the Sitelinks Search Box Schema Markup into your website's HTML.
Manual Integration
To manually add the markup to your website, you'll need to insert the SearchAction markup into the <head> section of your website's homepage. This can be done by copying and pasting the code into your website's HTML editor.
Here's an example of the SearchAction markup in JSON-LD format:
<script type="application/ld+json">
  {
    "@context": "https://schema.org",
    "@type": "WebSite",
    "url": "https://example.com/",
    "potentialAction": {
      "@type": "SearchAction",
      "target": "https://example.com/search/?q={search_term_string}",
      "query-input": "required name=search_term_string"
    }
  }
</script>
Replace https://example.com/ with your website's URL and https://example.com/search/?q={search_term_string} with your website's search results page URL.
Using WordPress SEO Plugins
If you're using a WordPress SEO plugin, such as Yoast SEO or All in One SEO Pack, you can use the plugin to add the Sitelinks Search Box Schema Markup to your website. These plugins often provide a built-in feature to add schema markup to your website's pages.
Here's how to add the markup using Yoast SEO:
- Go to the "SEO" section of your page or post.
- Click on the "Schema" tab.
- Select "WebPage" as the schema type.
- Add the
SearchActionmarkup to the "Schema code" field.
Testing Your Markup
Regardless of the method you choose, make sure to test your markup using the Rich Results Test tool to ensure it's valid and correctly implemented.
sbb-itb-60aa125
Testing Your Markup
Now that you've added the Sitelinks Search Box Schema Markup to your website, it's crucial to test your markup to ensure it's valid and correctly implemented. This step is essential to guarantee that search engines like Google can crawl and understand your markup correctly.
Using the Rich Results Test Tool
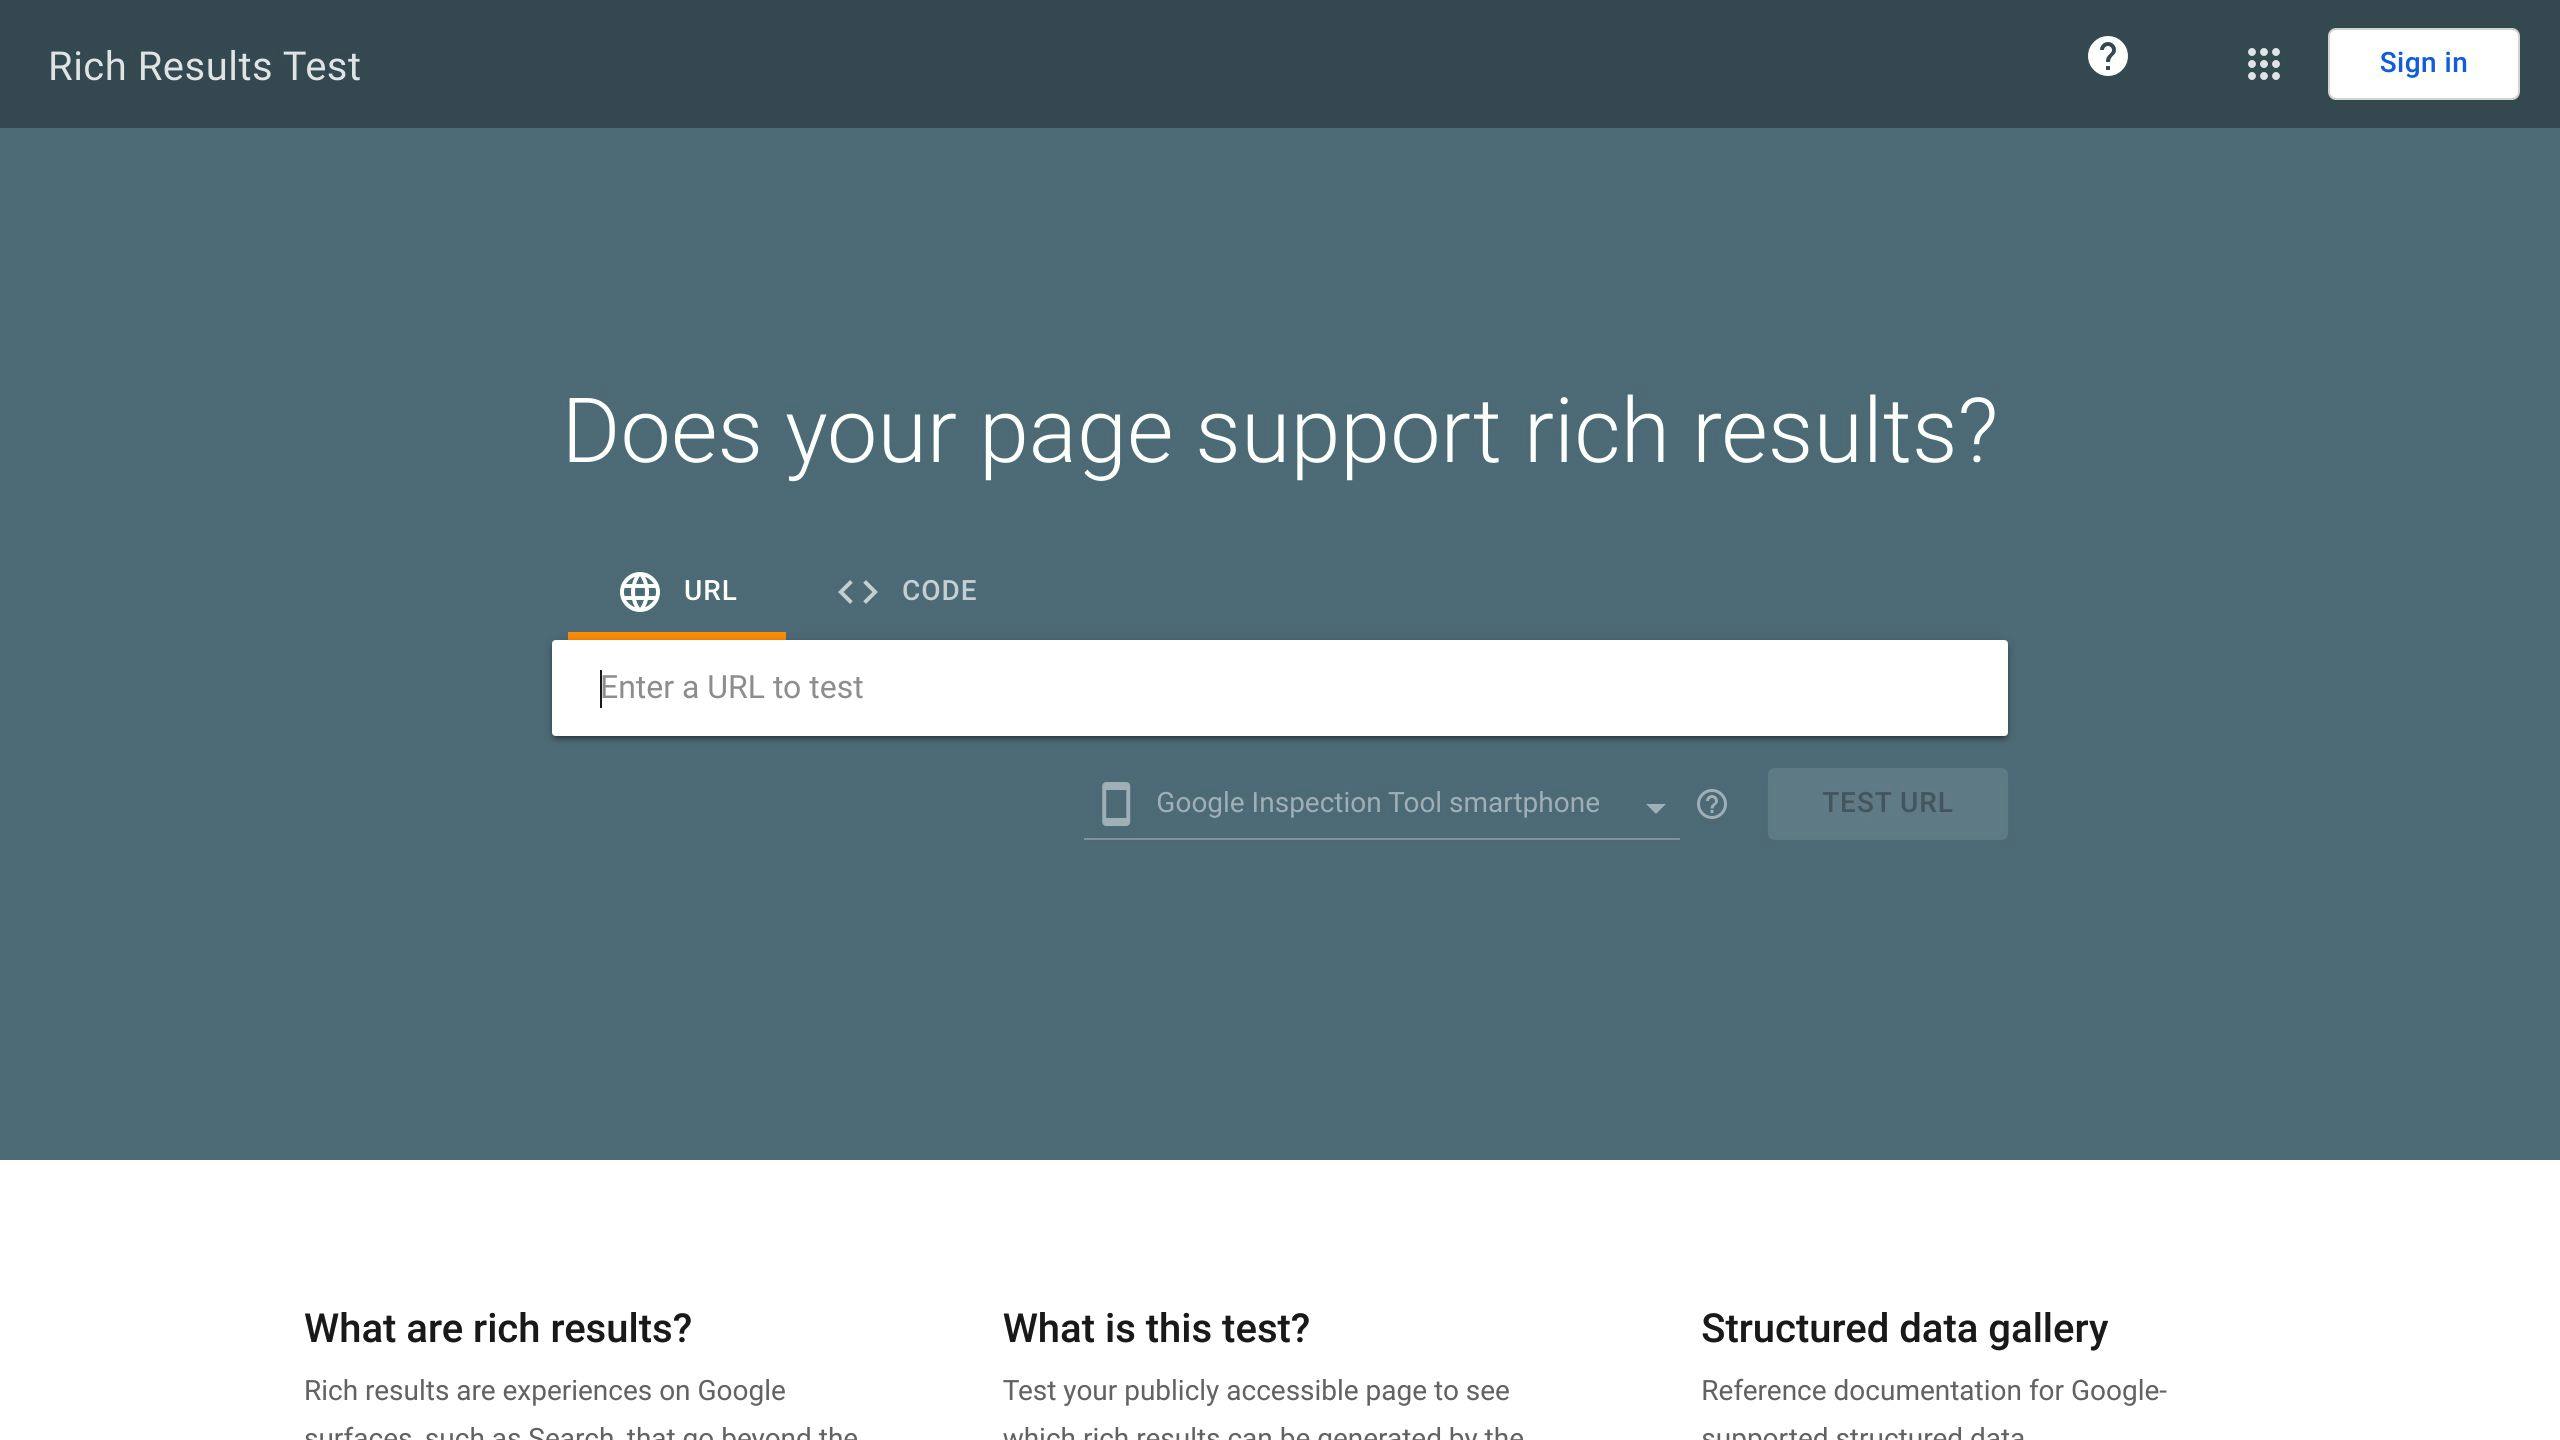
To test your markup, you can use the Rich Results Test tool provided by Google. This tool allows you to enter your website's URL or paste your markup code to test its validity. Follow these steps to test your markup:
1. Go to the Rich Results Test tool and enter your website's URL or paste your markup code. 2. Click on the "Test" button to run the test. 3. The tool will display the test results, indicating whether your markup is valid or not. If there are errors, the tool will provide detailed information on how to fix them.
Common Errors to Look Out For
When testing your markup, pay attention to common errors that may occur:
| Error | Description |
|---|---|
| Invalid JSON-LD syntax | Check your markup code for syntax errors. |
Missing or incorrect @context or @type properties |
Ensure these properties are present and correct in your markup code. |
Incorrect url or target properties |
Verify that these properties point to the correct URLs. |
Missing rel="canonical" tag |
Add this tag to your website's homepage. |
Fixing Errors and Re-Testing
If you encounter errors during testing, fix them accordingly and re-test your markup using the Rich Results Test tool. Repeat this process until your markup is valid and error-free.
By testing your markup, you ensure that search engines can crawl and understand your website's Sitelinks Search Box Schema Markup correctly, increasing the chances of your website appearing with a search box in search engine results pages (SERPs).
Submitting to Google
Now that you've tested and validated your Sitelinks Search Box Schema Markup, it's time to submit it to Google. This step is crucial to expedite recognition by Google and increase the chances of your website appearing with a search box in search engine results pages (SERPs).
Steps to Submit Your Markup
To submit your markup to Google, follow these steps:
1. Log in to Google Search Console: Go to the Google Search Console website and log in to your account. 2. Verify your website: Ensure that your website is verified with Google Search Console. If not, follow the verification process to confirm ownership of your website. 3. Submit your markup: Once verified, navigate to the "Sitemaps" section and submit your Sitelinks Search Box Schema Markup. You can do this by entering the URL of your website's homepage or by uploading your markup file.
Important Reminders
| Reminder | Description |
|---|---|
| Valid markup: Ensure that your markup is valid and error-free before submitting it to Google. | |
| Patience: It may take some time for Google to crawl and process your markup, so be patient and monitor your website's performance regularly. | |
| No guarantee: Submitting your markup to Google does not guarantee that your website will appear with a search box in SERPs. However, it increases the chances of recognition and improves your website's visibility. |
By following these steps, you've successfully submitted your Sitelinks Search Box Schema Markup to Google. Next, we'll cover optimizing your markup for better performance and troubleshooting common issues.
Optimizing Your Markup
Optimizing your Sitelinks Search Box schema markup is crucial to ensure it is effective and increases the chances of your website appearing with a search box in search engine results pages (SERPs). Here are some tips to help you optimize your markup:
Commit to Improving On-Site Search
Google emphasizes the importance of having a functional and user-friendly on-site search. Ensure that your website's search function provides relevant results to users.
Ensure Valid and Error-Free Markup
Use tools like Google's Rich Results Test to test and validate your markup. This will help you identify any errors or issues that need to be fixed.
Monitor and Analyze Traffic
Monitor and analyze your Google Search traffic using the Performance Report. This will help you understand how often your page appears as a rich result in Search, how often users click on it, and what is the average position you appear on search results.
By following these tips, you can optimize your Sitelinks Search Box schema markup and increase the chances of your website appearing with a search box in SERPs. Remember to be patient and monitor your website's performance regularly to ensure that your markup is effective.
Optimization Checklist
| Optimization Tip | Description |
|---|---|
| Commit to improving on-site search | Ensure your website's search function is functional and user-friendly. |
| Ensure valid and error-free markup | Use tools like Google's Rich Results Test to test and validate your markup. |
| Monitor and analyze traffic | Monitor and analyze your Google Search traffic using the Performance Report. |
By following this checklist, you can ensure that your Sitelinks Search Box schema markup is optimized for better performance and increases the chances of your website appearing with a search box in SERPs.
Troubleshooting
Troubleshooting is an essential part of implementing Sitelinks Search Box schema markup. Here are some common issues you may encounter and their solutions:
After Deploying Structured Data for the First Time
After Google has indexed your pages, check for issues using the Rich result status report. If you find issues in your structured data:
- Fix invalid items: Correct any errors in your markup.
- Inspect a live URL: Check if the issue persists.
- Request validation: Use the status report to request validation.
After Releasing New Templates or Updating Your Code
When you make significant changes to your website, monitor for increases in structured data invalid items. If you see an increase in invalid items, perhaps you rolled out a new template that doesn't work, or your site interacts with the existing template in a new and bad way. If you see a decrease in valid items (not matched by an increase in invalid items), perhaps you are no longer embedding structured data in your pages. Use the URL Inspection tool to learn what is causing the issue.
Analyzing Traffic Periodically
Analyze your Google Search traffic using the Performance Report. The data will show you:
| Metric | Description |
|---|---|
| Appearances | How often your page appears as a rich result in Search |
| Clicks | How often users click on it |
| Average position | What is the average position you appear on search results |
By following these troubleshooting tips, you can identify and resolve issues with your Sitelinks Search Box schema markup, ensuring that your website appears with a search box in search engine results pages (SERPs).
Key Points
To summarize, adding Sitelinks Search Box schema markup to your website can significantly improve your search engine results page (SERP) visibility and user experience. Here are the key points to remember:
Benefits of Sitelinks Search Box
| Benefit | Description |
|---|---|
| Improved SERP visibility | Increases the chances of your website featuring a search box in SERPs |
| Enhanced user experience | Allows users to search your site directly from the search results |
| Better on-site search | Requires a working search engine on your website |
Implementation Tips
- Accurate implementation of schema markup and on-site search optimization are crucial for Google to display the search box in SERPs.
- Troubleshooting is essential to identify and resolve issues with your Sitelinks Search Box schema markup.
- Regularly monitoring your Google Search traffic and analyzing the performance report can help you optimize your schema markup and improve your website's visibility.
By following these key points, you can successfully implement Sitelinks Search Box schema markup and enhance your website's search engine results page visibility.